
How do I Customise a Mock-Up?
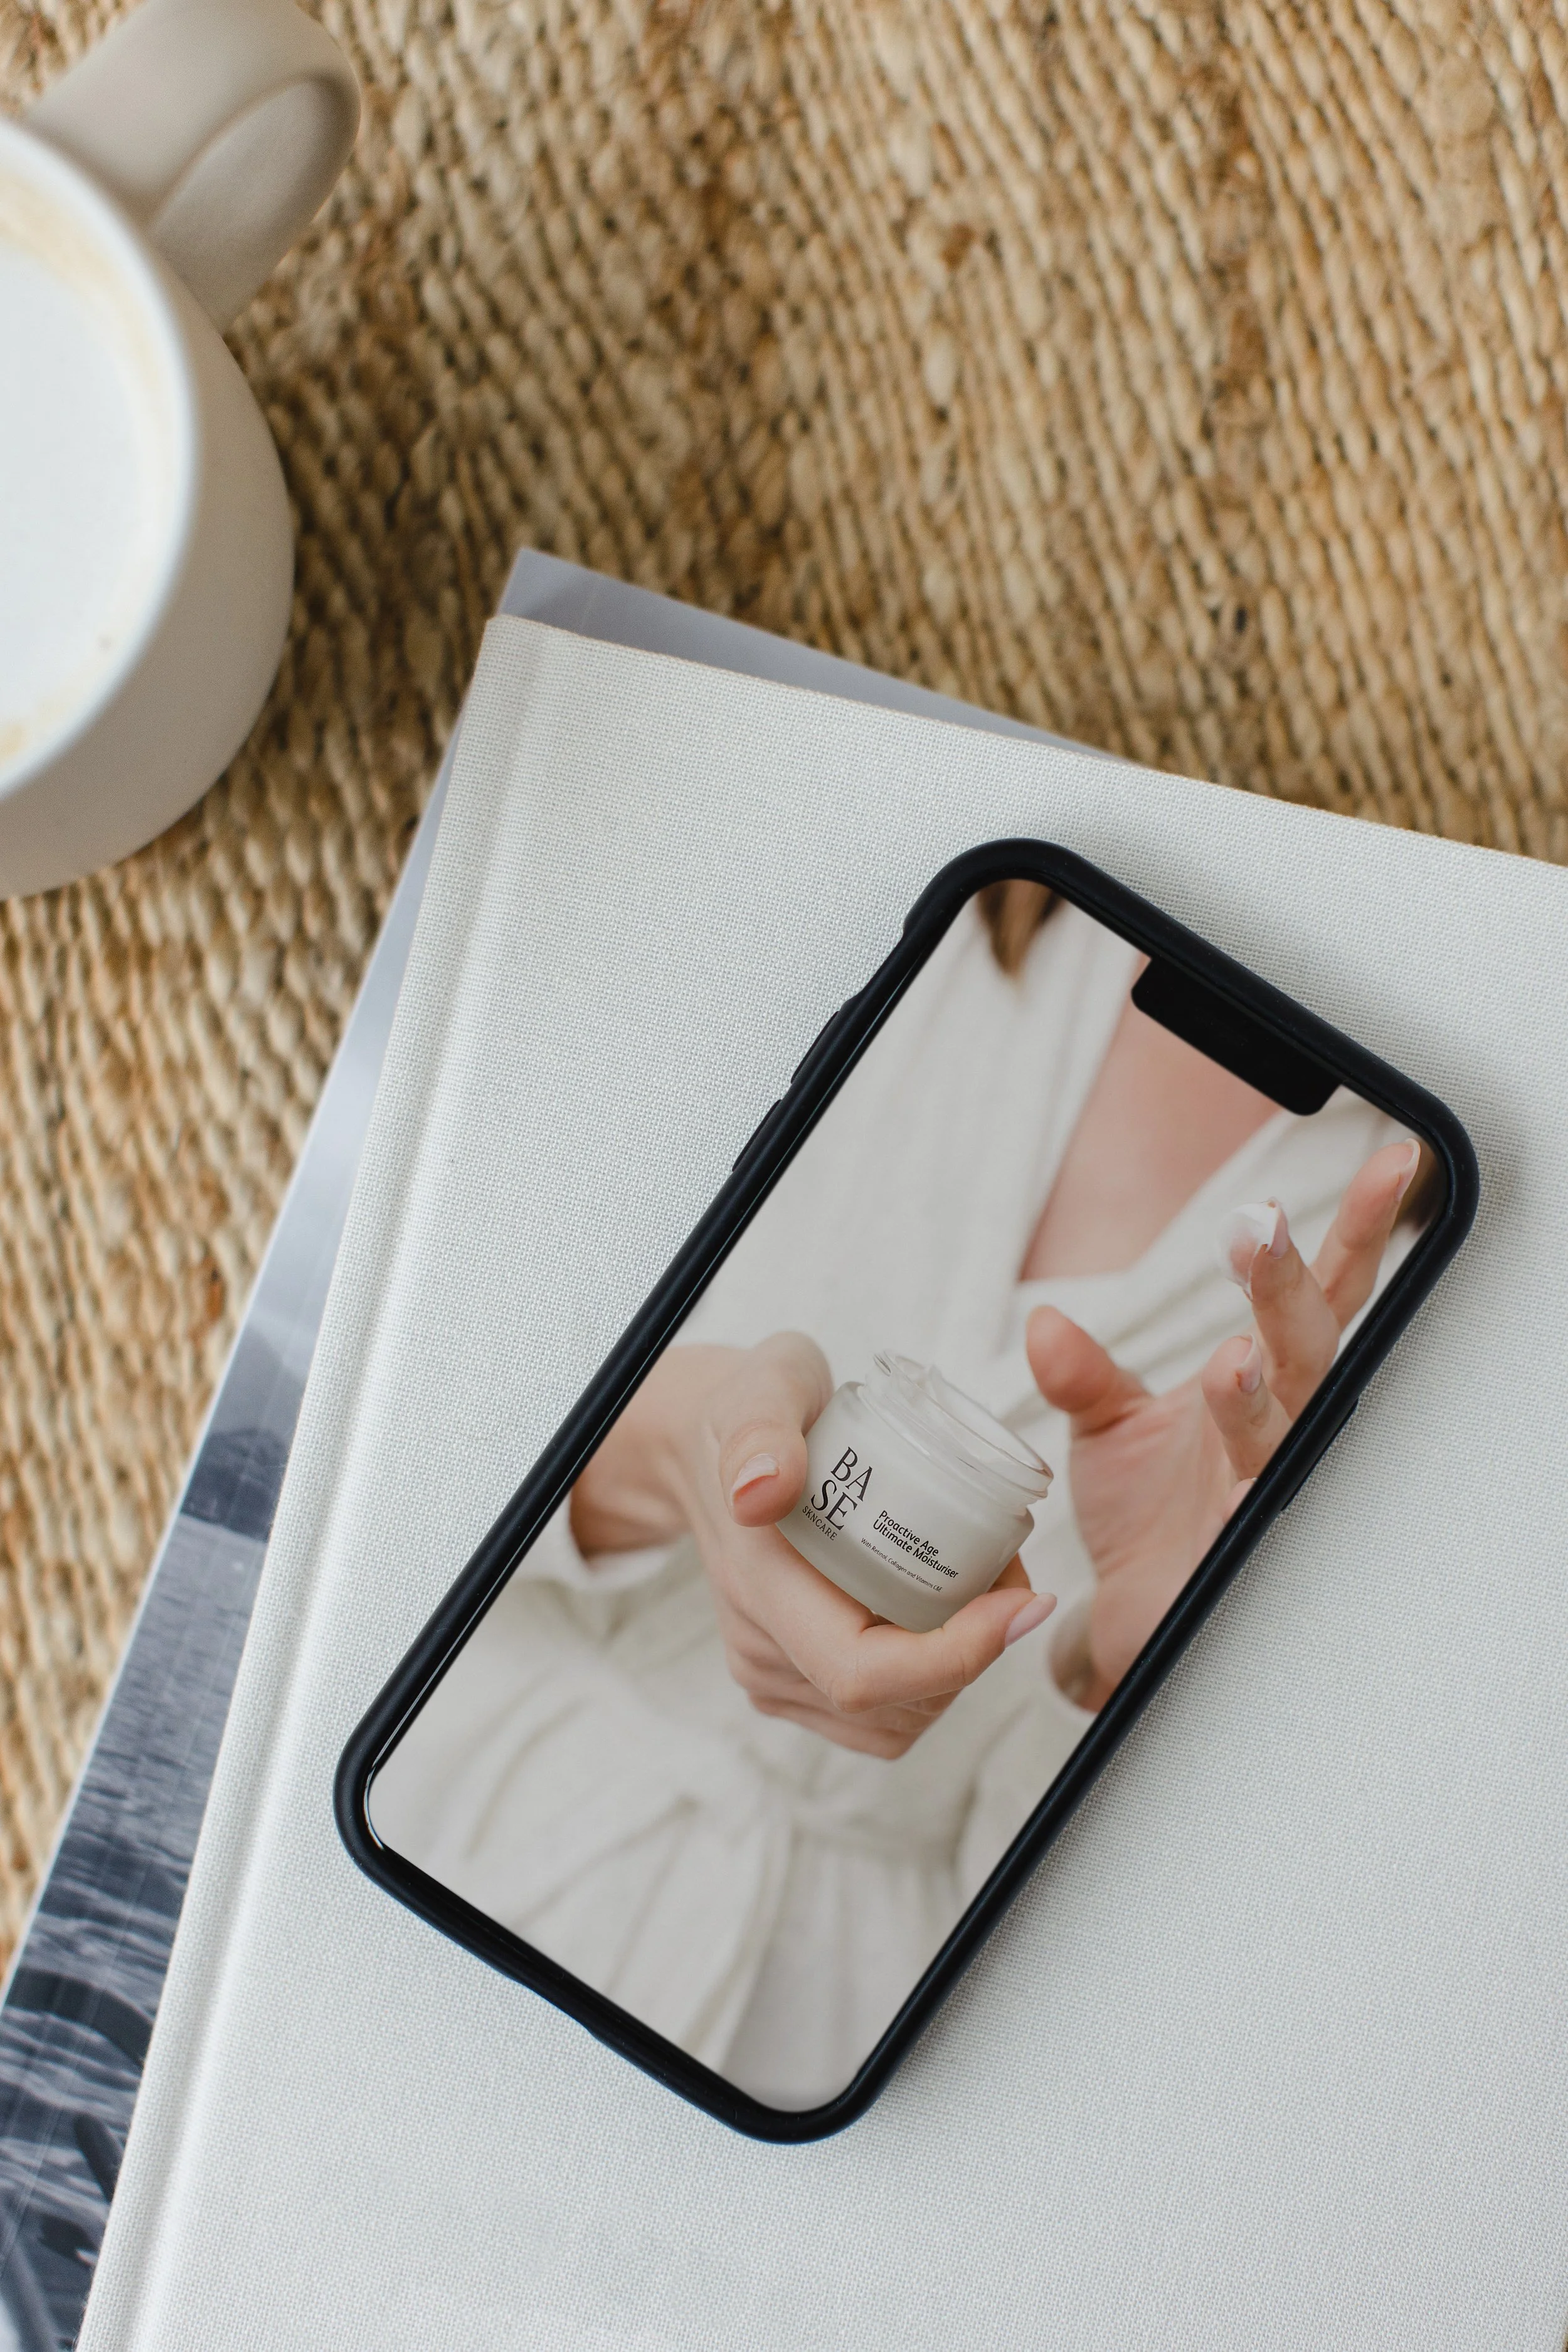
If you’re reading this post, then you’ve recently downloaded some of my free stock photos! A couple of the photos are classed as ‘mock-ups’, and simply mean you can customise photos to your own brand.
Mock Up Tutorial
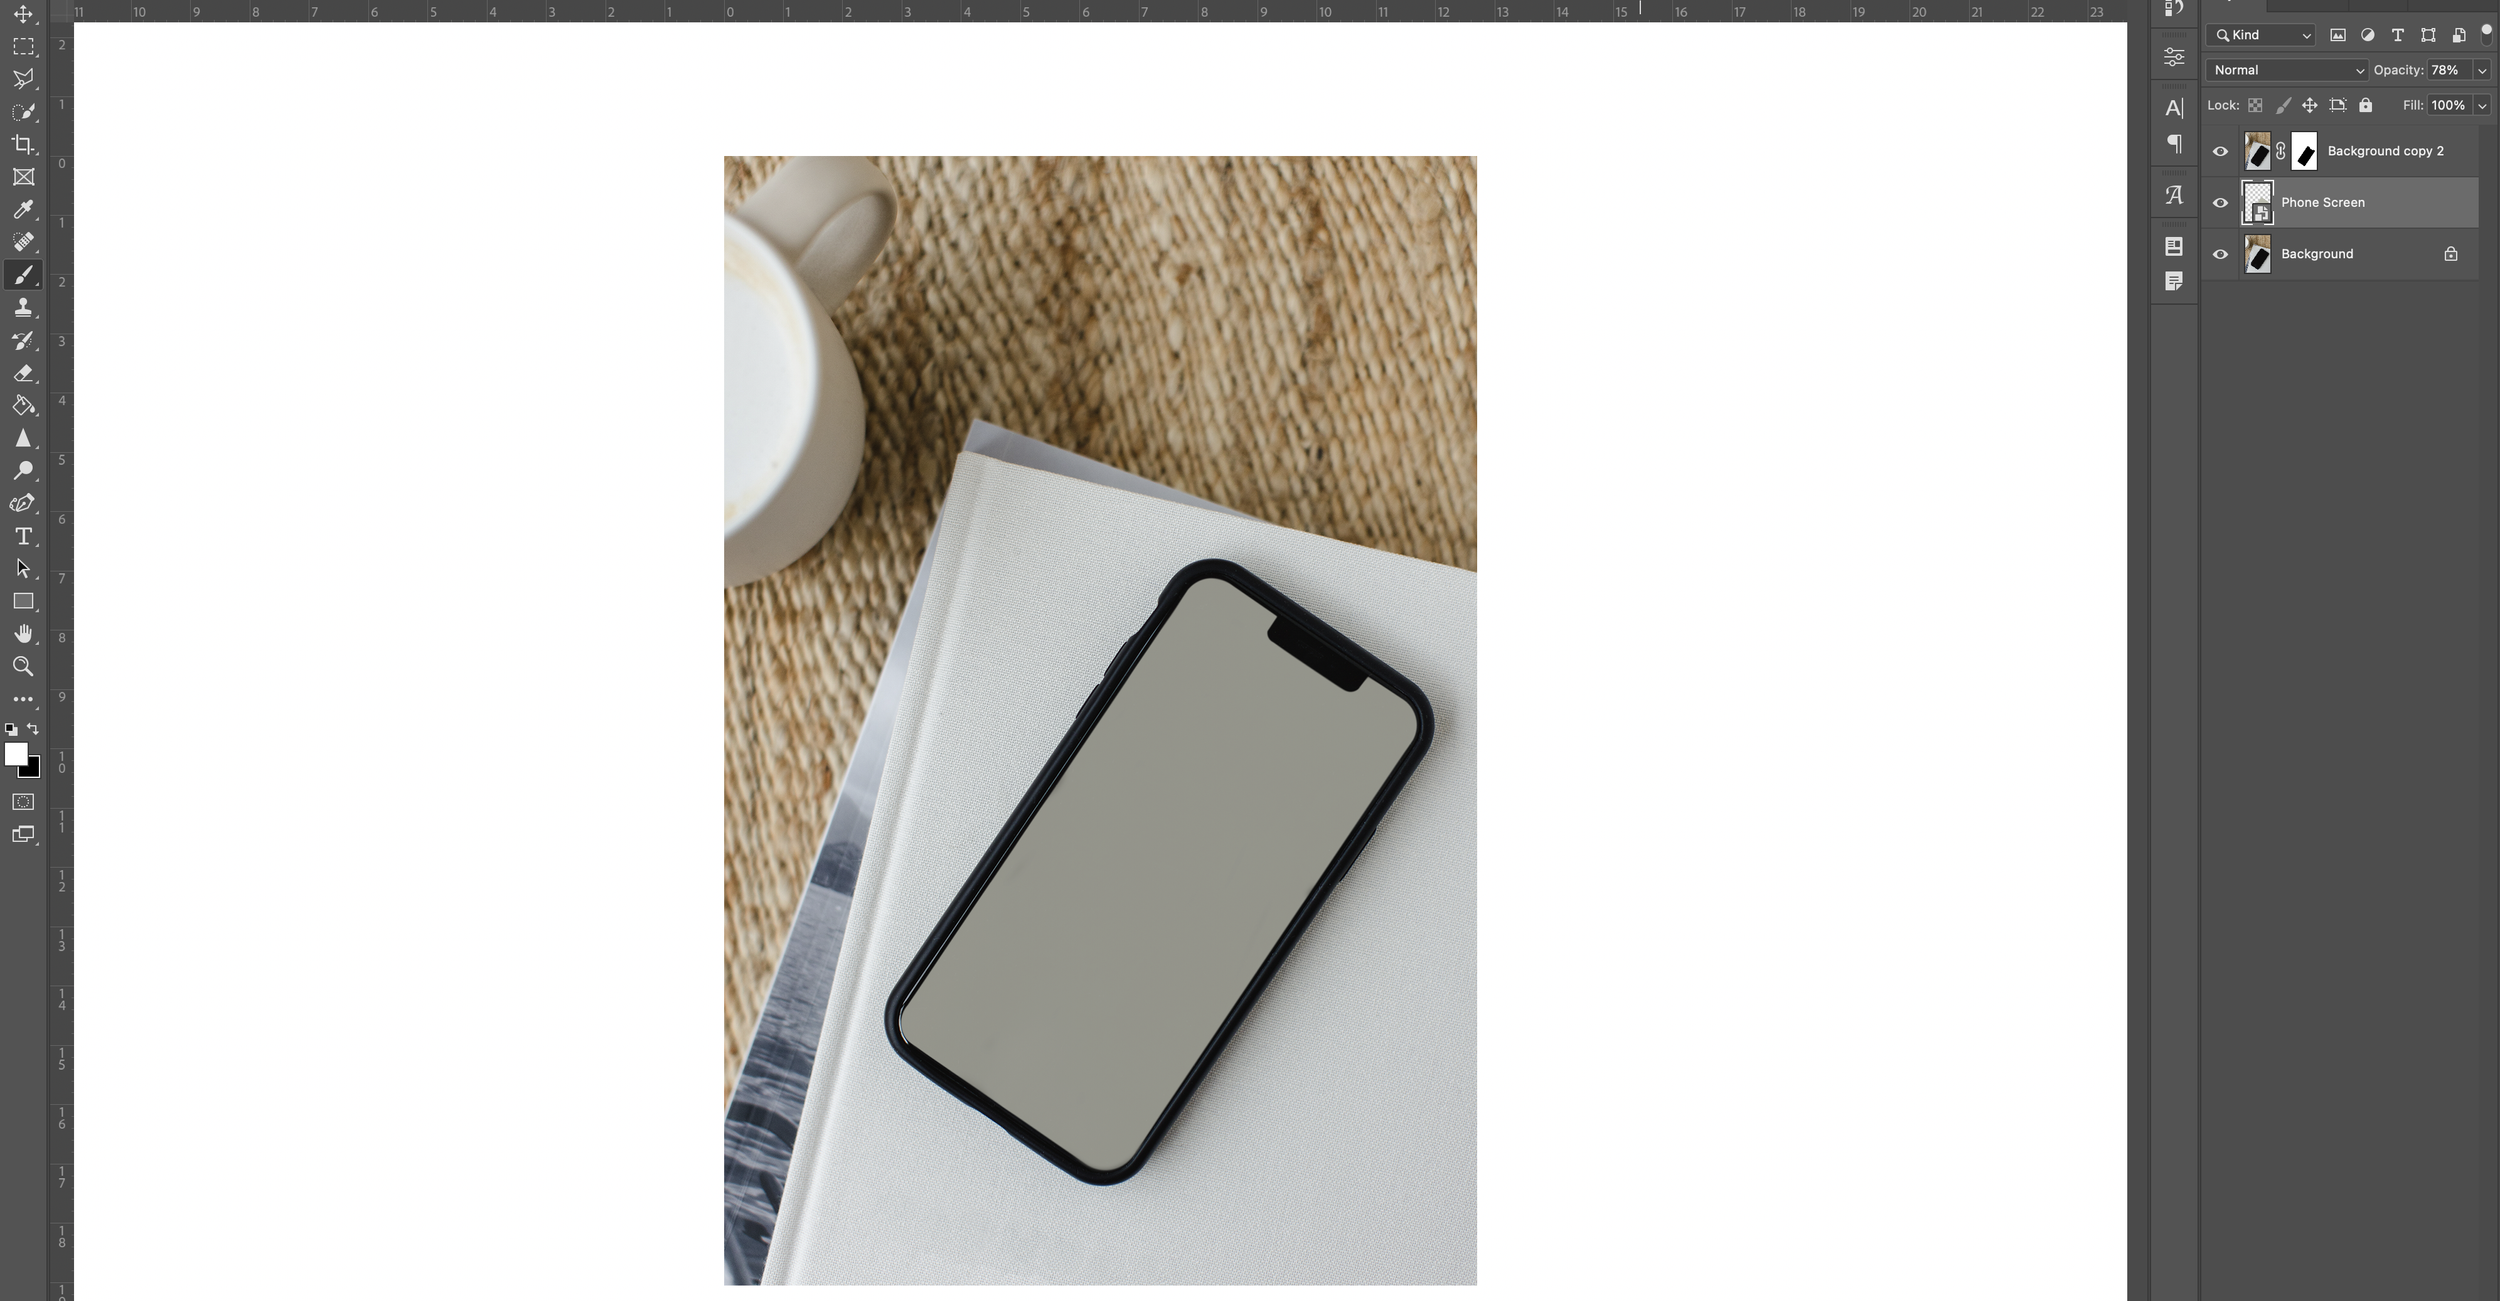
1. Open up your image in Photoshop
2. Double click on the thumbnail of the ‘Phone Screen’ or ‘iPad Screen’ layer. This will open a new tab in Photoshop.
3. In the new tab, click File > Place Linked, select your design and click ‘Place’. Please note: In order to make sure the image you’re placing on the screen is the correct ratio, you’ll need to make sure it’s already re-sized before this step - I like to use the extension Window Re-sizer. My mock-ups use Macbook Pro 16:10, iPhone 16:9 and iPad 4:3)

4. Scale the image (go to edit> transform> scale) so it fills the green space (hold down the shift key whilst re-sizing to keep the ratio) and once you’re happy with the image position, go to File and then click Save. You can then close this tab.


5. You will then see that your design is now placed in the correct position. If you need to re-edit or would like to change the image, simply repeat the above steps.
6. I’ve adjusted the opacity of the design layer to 78%. This is just my preference, as I feel it’s a little more true to life in terms of how you’d view a phone screen. You can also experiment with a bit of blur if you don’t want your screen to look too ‘perfect’. Go to Filter/Blur/Surface Blur to play around and see what suits you. Feel free to adjust as you like!

You can then save this image as a JPEG (which will flatten all the layers) and use it how you wish. In order to come back to this image and use again with a different design, you’ll need to work from the original psd file.
I hope this post has helped you! If you have any questions or need further help, just send me an email.